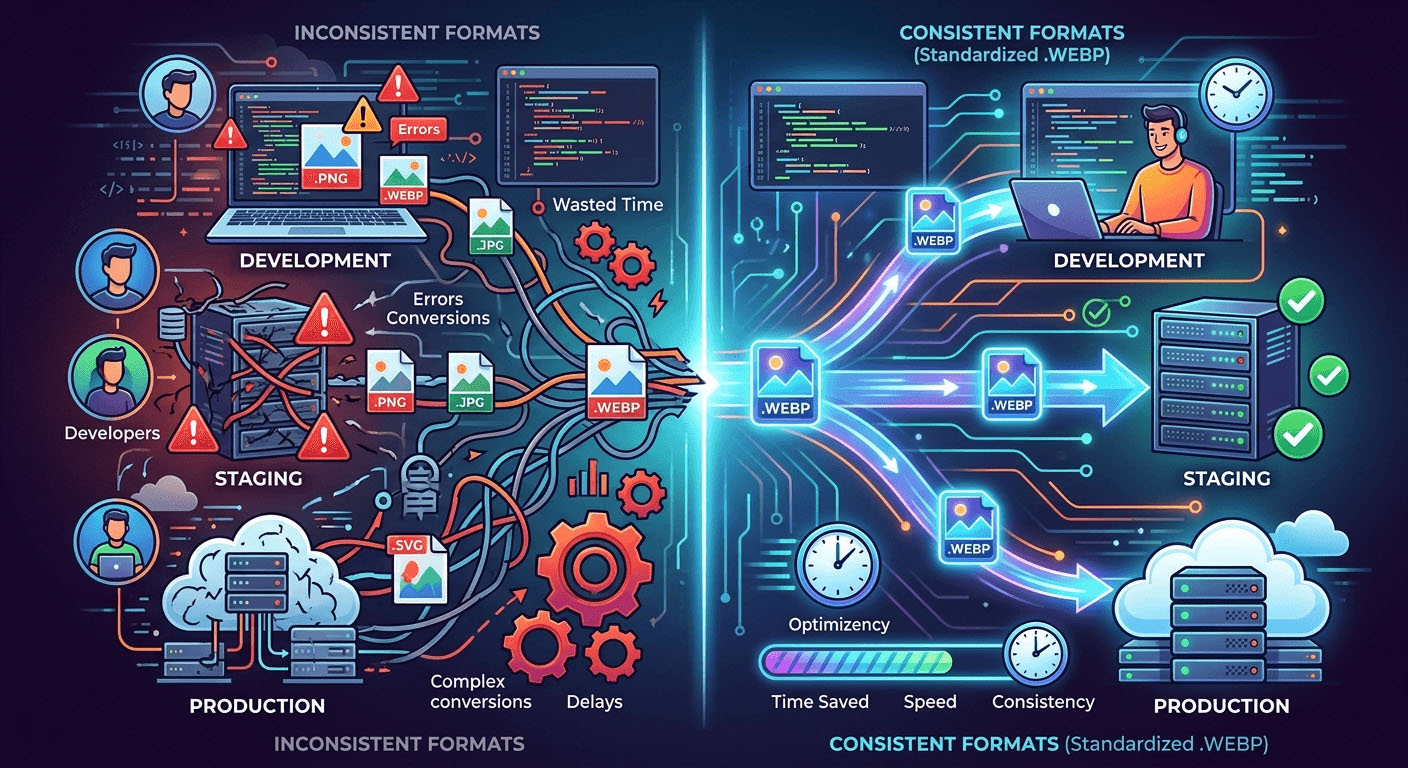
Image files are frequently the single largest contributor to page weight in modern web applications. You can optimize your JavaScript bundles down to the wire, cache your API responses aggressively, and fine-tune your CDN configuration, and still watch your Lighthouse performance score suffer because a folder full of legacy JPEGs is quietly bloating every page load. The good news is that you do not need a custom Webpack plugin, a server-side image pipeline, or a third-party SaaS subscription to fix this. The solution is usually simpler than developers expect, and it starts with format selection.
Key Takeaway:
1. Switching legacy JPEG files to WebP is one of the highest-impact format changes available, typically cutting file size by 25 to 35 percent with no visible quality loss.
2. Browser-based tools let you convert and compress images without maintaining any build-step tooling or extra dependencies in your project.
3. For formats where a WebP conversion alone does not hit your payload targets, a dedicated image compressor handles the remaining reduction.
Why Format Choice Matters More Than Compression Settings
Most developers reach for compression sliders before they consider format conversion. That instinct is understandable but usually backwards. Compression adjusts how much data is discarded within a given format. Format selection determines the efficiency ceiling of the encoding itself, and WebP has a higher ceiling than JPEG for almost every photographic image type.
Google’s WebP format was designed specifically to replace JPEG and PNG for web delivery. It uses a more modern prediction algorithm for lossy encoding and supports both lossy and lossless modes. A photographic image that weighs 200 KB as a JPEG will commonly weigh 130 to 150 KB as a WebP at equivalent visual quality. That is a meaningful bandwidth reduction per image, and it compounds across an entire asset library.
Browser support for WebP is no longer a concern. Every major browser, including Safari since version 14, renders WebP natively. You can confirm the full breakdown of browser image format support if you need to verify compatibility for a specific target environment, but for the vast majority of production deployments, WebP is a safe default today.
The Build Pipeline Problem
Here is where many teams get stuck. They know they should be serving WebP. They also know that adding an image processing step to a build pipeline carries real maintenance cost. You need to pick a library, pin a version, handle platform-specific native dependencies (sharp, libvips, imagemagick), write wrapper scripts, update documentation, and eventually debug the build that breaks because a developer on a different operating system has a different native library version installed.
For teams that are not already running a sophisticated asset pipeline, that overhead is genuinely not worth it for images that change infrequently. Product screenshots, blog images, about-page photos, and hero images are typically uploaded once and left alone. Running them through an automated pipeline provides no ongoing benefit. What you need is a one-time conversion, not a recurring build step.
Converting JPEG Assets to WebP Without a Build Step
The practical workflow for low-churn image assets is to convert them once, store the WebP files in your repository or CDN, and reference them directly. No pipeline. No new dependency. No maintenance burden.
A browser-based JPG to WebP converter handles this cleanly. You upload your JPEG files, get WebP output, and replace the originals in your asset directory. The whole operation takes a few minutes for a typical product site. The converted files go into version control alongside everything else. Your build process does not change at all.
This approach works especially well when images are authored by non-engineering team members. A content manager or designer can run conversions themselves without touching the codebase. You set the expectation once: all uploaded images should be WebP. The tooling to support that expectation requires no engineering involvement to operate.
What to Do When WebP Is Not Enough
WebP conversion handles photographic content extremely well. It handles PNG files with transparency less cleanly. PNG files that contain UI screenshots, logos, icons, or charts often have large areas of flat color and sharp edges. WebP performs better than PNG in many of these cases, but the gains are less dramatic than with photography. Some assets will still come in over your payload budget even after conversion.
This is where a dedicated browser-based image compressor fills the gap. Rather than accepting the default output of a format conversion, you apply additional compression tuning to close the remaining gap between current file size and your target. PNG files with transparency that you cannot or do not want to convert to WebP are an especially common use case here.
The key is treating these two tools as complements in sequence, not alternatives. Convert photographic content to WebP first. Measure the results. Apply additional compression to whatever still exceeds your target payload budget.
A Practical Workflow for a Real Deployment
Here is how this looks as a concrete sequence of steps:
- Audit your existing image assets. Sort them by file size and identify the largest contributors to page weight, typically hero images and product photography.
- Run all JPEG and JPG files through a WebP conversion. Store the output files in the same directory structure as the originals, with a .webp extension.
- Update your HTML or template references. If you need progressive enhancement for edge cases, use a picture element with a WebP source and a JPEG fallback. In most cases you can replace the src attribute directly.
- Measure page weight before and after using your browser’s network panel or a tool like WebPageTest. Record the baseline and the post-conversion numbers.
- Identify any images that are still over your payload threshold. Apply additional compression to those specific files using a browser-based compressor.
- Document the expected format for future uploads in your team’s contributing guide or asset management documentation.
This process typically takes two to four hours for a site with a few dozen images. The result is a meaningful reduction in page weight with no new dependencies in your build system.
Fitting This Into a Larger Performance Strategy
Image optimization does not exist in isolation. It is one part of a broader performance strategy that includes caching headers, lazy loading, and responsive srcset attributes that serve appropriately sized images to different viewport widths. Format optimization is, however, the highest-leverage single change most teams can make, because it reduces file size at the source rather than through delivery optimization.
A useful mental model is to think of format conversion as reducing the size of the object you are shipping, and delivery optimization as reducing the cost of shipping it. You want both, but reducing the object size has compounding benefits across every delivery path.
WebP conversion also pairs well with responsive image strategies. If you are already serving different image sizes based on viewport width, serving those same sizes in WebP compounds the savings. A 400-pixel-wide mobile image that was 60 KB as a JPEG might be 38 KB as a WebP. At scale, across many users and many page loads, those numbers add up to real reductions in bandwidth cost and real improvements in perceived load speed.
The format choice also feeds into Core Web Vitals scores in a direct way. Largest Contentful Paint, one of the three primary metrics Google uses for search ranking signals, is frequently determined by a hero image. Reducing that image’s file size is often the single most effective intervention for improving LCP on content-heavy pages.
Performance Gains Without the Maintenance Tax
The premise of custom compression pipelines is that automation saves time. For teams with continuous image publishing workflows, that premise holds. For teams where images are uploaded infrequently and mostly by non-engineers, the automation creates more problems than it solves.
Browser-based conversion and compression tools offer a genuinely better tradeoff for those teams. The tools themselves are maintained by someone else. The process is simple enough that any team member can run it. The output integrates into your project without any changes to how the project is built or deployed.
There is also something to be said for the auditability of a manual process. When you convert a file and store the output, you can see exactly what changed. You can compare file sizes before and after. You can spot problems with a specific image before it reaches production. Automated pipelines often obscure this feedback, processing everything in bulk and surfacing failures only when something breaks visibly.
The performance improvements are real, measurable, and arrive immediately. No sprint of tooling work required. That is the deal worth taking if your goal is better performance without the overhead of a custom image pipeline. Start with your five largest images, convert them this afternoon, and check your network panel. The difference will be visible before the end of the day.